How to Take Better Food Photos With Just Your Phone: The 2026 Restaurant Owner’s Guide
Your food already looks good on the plate. The problem is that your photos don't show it. In 2026, diners decide where to order before they ever read a menu description — they scroll delivery apps, swipe Google photos, and judge your kitchen on a thumbnail. The good news for any operator: strong phone food photography does not require a $3,000 camera or a hired photographer. The phone in your pocket is more than capable once you control a few variables.
This guide is built for restaurant owners who are short on time and budget. Every step is practical and repeatable, and we'll be honest about where a phone is enough and where AI enhancement finishes the job.
Why phone food photos matter more than ever
Listings with sharp, appetizing photos consistently earn more taps on delivery apps, more engagement on Google Business Profile, and more saves on social. Professional shoots are great, but they happen once or twice a year. Meanwhile your menu changes weekly: specials, seasonal items, new dishes. You need a system you can run any day of the week, and your phone is the fastest tool you own.
The gap between "phone photo" and "professional photo" has never been smaller. The remaining gap is almost entirely about light, framing, and finish — all of which you control.
Set up your phone in five minutes
Before you shoot a single dish, configure the camera:
- Shoot at full resolution. You want maximum detail for cropping later.
- Turn on grid lines. The 3×3 overlay makes composition deliberate instead of accidental.
- Keep HDR on auto. It balances bright highlights and dark shadows common in restaurants.
- Turn the flash off — always. More on this below.
- Use the main (1x) lens. The ultra-wide distorts plates; the telephoto (2x/3x) is good for tight texture shots.
The single best habit you can build is shooting with the flash off, near a window. That one change beats every accessory.
Accessories worth under $50
| Item | Approx. cost | Why it helps |
|---|---|---|
| Mini tripod | $15-25 | Kills camera shake, enables clean overheads |
| Phone clamp | $5-10 | Holds the phone steady on the tripod |
| Portable LED panel | $15-30 | Consistent soft light in dim rooms |
| White foam board (x2) | $3-5 | Bounces light into shadows |
Lighting: the factor that decides the photo
If you learn one thing here, make it this: a simple dish in great light beats a beautiful dish in bad light, every time.
Use a window first
- Find a window with indirect light. Direct sun blows out highlights.
- Place the dish within two to three feet of the glass.
- Put the light to the side or behind the dish. Side light builds texture; backlight makes sauces, glass, and steam glow. Avoid front light — it flattens everything.
- Place a white foam board opposite the window to bounce light back into the shadows.
When there's no window
Use a daylight-balanced LED panel (around 5000-5500K) to the side of the dish, angled slightly down, about 18 inches away. If it looks harsh, tape a sheet of white paper over it to soften the light. Never rely on warm overhead restaurant lights — they cast a yellow tint that's hard to fully fix later.
For a tight kitchen, our tight-kitchen photo station setup shows how to keep a repeatable corner ready in under ten minutes.
Composition that reads on a phone
Most diners see your photo as a small thumbnail. Frame for clarity.
- Rule of thirds: place the hero element on a grid intersection, not dead center (centering only works for symmetrical dishes shot from straight above).
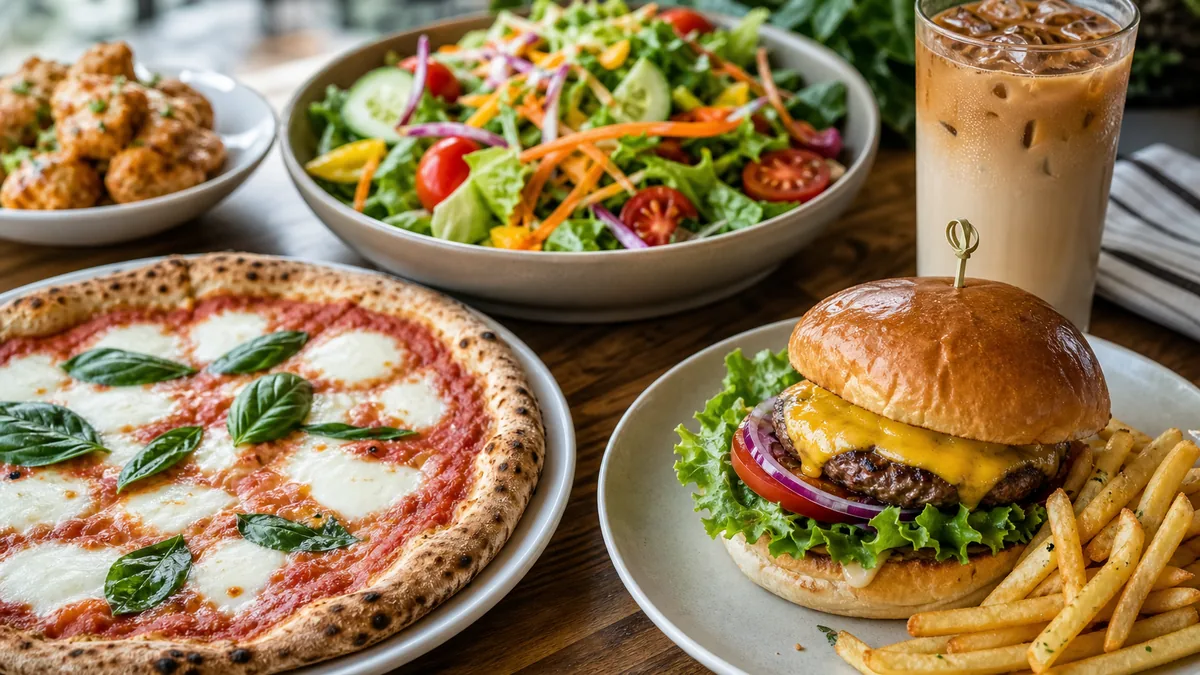
- Match the angle to the dish: overhead for flat food (pizza, salads, bowls of soup), 30-45° for plated entrées and bowls, eye level to slightly above for tall items (burgers, stacked pancakes).
- Fill 60-70% of the frame. Get closer; don't shoot from across the room.
- Leave a little breathing room so delivery apps can crop without cutting the food.
Style the dish before you shoot
Plating matters more than any filter:
- Wipe the rim. A clean plate edge separates pros from amateurs.
- Garnish last — herbs and microgreens wilt fast.
- Use odd numbers. Three shrimp beat four.
- Show texture: grill marks, crispy edges, melting cheese. Texture is what makes food look craveable.
- Pick a clean surface: wood, stone, slate, or plain white. Avoid busy patterns.
The seven mistakes we see most
- Bad light or flash on. Move to a window or LED.
- Cluttered backgrounds. Clear the counter; use a clean board.
- Shooting too far away. Get closer and fill the frame.
- Dirty plates or sloppy plating. Spend 30 extra seconds.
- Digital zoom. Move your body; use the optical telephoto instead.
- Yellow color cast. Tap to set white balance, or fix it in editing.
- Taking one shot. Take 10-15 and pick the best later.
A two-minute phone edit
Free apps like Snapseed or Lightroom Mobile are plenty:
- Crop and straighten.
- Lift exposure if it's dark — but keep it natural, not blown out.
- Nudge contrast (+10 to +20) for vivid, separated color.
- Correct white balance so whites look white, not yellow.
- Boost saturation gently (+5 to +15). Overdone food looks fake.
- Sharpen subtly to bring out texture.
Never change the actual color of the food. Golden-brown chicken should still look golden-brown — not neon. Heavy vintage filters and over-smoothing make food look old and plastic.
Where AI enhancement finishes the job
Even a skilled phone shot has limits during a busy service. AI enhancement is the honest shortcut for:
- A quick snapshot you couldn't fully style.
- Cleaning a distracting background or evening out the lighting.
- Getting a consistent look across dozens of dishes without reshooting each one.
This is what FoodPhoto.ai is built for: you upload the real photo of your real dish, and it fixes lighting, background, gloss, color, and crop without changing the food. It's honest enhancement, not text-to-image fabrication — the burger in the photo is still your burger. Try it on one dish in the Menu Test Pack before committing.
Phone vs. AI: when to use each
| Scenario | Best approach |
|---|---|
| Daily social posts | Phone photo, good light |
| Printed/menu board photos | AI-enhanced for consistency |
| Delivery app listings | AI-enhanced, clean uniform style |
| Behind-the-scenes content | Phone photo (authenticity) |
| Seasonal special, fast turnaround | Phone photo + AI enhancement |
The smartest operators don't pick one. They shoot fast on a phone, then enhance for the channels that need polish.
Build a weekly rhythm
A 90-minute weekly loop keeps your library fresh: plan three to five dishes Monday, shoot Tuesday, enhance and publish midweek. Over a quarter that quietly refreshes your entire visual presence. If you operate multiple brands or locations, the same loop scales — see our ghost kitchen weekly system for how to keep several menus on-style. For composition specifically, our menu photo composition rules go deeper on framing that converts.
Final checklist before you post
- Soft, directional light, flash off
- Clean plate rim, deliberate plating
- Rule-of-thirds framing, food fills 60-70%
- Clean background, sharp focus on the front of the dish
- Natural color, cropped and straightened
- It honestly makes you want to eat it
That last line is the real test. If your gut reaction is "that looks delicious," you're ready.
Great food deserves photos that match. Start with light, build the weekly habit, and when you need consistency across a full menu, let FoodPhoto.ai pricing handle the polish — ten photos for $10 or plans from $15/month, credits roll over, cancel anytime.
FAQ
Can restaurants take professional-looking food photos with a phone?
Yes. Use the main lens, stable light, clean backgrounds, deliberate angles, and simple editing before enhancing for consistent menu-ready output.
What phone camera settings matter most for food photos?
Shoot at full resolution, turn on grid lines, keep flash off, use the main lens, and avoid digital zoom whenever possible.
What is the best light for phone food photography?
Soft side or back window light is the best first choice. If there is no window, use a diffused LED panel and bounce card.
Where does AI enhancement fit into phone food photography?
AI enhancement is best for polishing real dish photos: fixing lighting, color, background, gloss, and crop while keeping the food honest.