Flat Lay Food Photography: The Restaurant Guide to Overhead Shots
Done well, flat lay food photography is the fastest way to make a bowl, a salad, a pizza, or a platter look organized, abundant, and instantly appetizing. Done badly, it looks flat, cluttered, and lifeless. The difference is almost never the camera. It is lighting direction, framing discipline, and choosing the right dishes to shoot from above. This is the restaurant-friendly version for menus and social, with a checklist you can run every week.
The fast version
- Overhead works best when the dish is clean and organized: bowls, salads, pizzas, platters.
- Use soft side light and keep the camera parallel to the table.
- Leave room for crops and text overlays, especially for social.
When to shoot flat lay (and when not to)
Flat lay shines when the story of the dish is on its surface. A grain bowl, a colorful salad, a well-topped pizza, a sheet pan, charcuterie, and family-style platters all read beautifully from directly above because the customer can see every component at once. That sense of variety and abundance is exactly what drives orders.
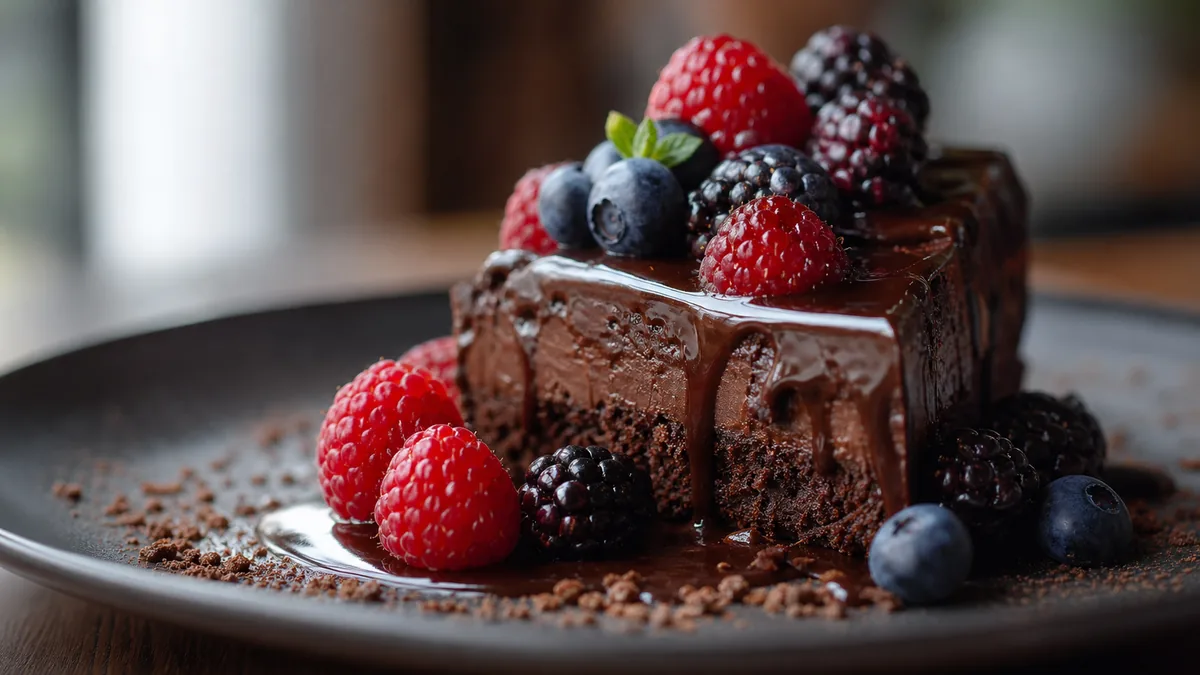
Avoid flat lay for dishes whose appeal is height and layers: burgers, stacked pancakes, deep-dish pizza, parfaits, and tall drinks. Shoot those at 45 degrees so the build is visible. For the broader set of restaurant angles, our menu photography operator guide covers when each one wins.
The setup
- Light from the side using a window or a soft light. Side light is what gives an overhead shot depth.
- Camera directly above the dish, lens parallel to the table. A phone clamp or overhead tripod arm makes this repeatable.
- Minimal props: one fork, one napkin, one accent. Props support the dish; they should never crowd it.
The most common flat lay mistake is lighting from directly overhead, which flattens everything into a lifeless top-down. Move the light to the side and the same dish suddenly has texture, gloss, and dimension.
The framing checklist
Run this on every overhead frame:
- Plate or bowl centered in the frame.
- Ingredients organized, not chaotic. Arrange before you shoot.
- Edges clean, with no smears or stray drips.
- No clutter in the corners.
Keeping the dish centered with a little breathing room is what lets you export multiple crops later without amputating an ingredient.
Make it usable everywhere
A single overhead shot has to survive several platforms that all crop differently. Export the sizes you actually need: a square crop for social and Instagram, and a 4:3 or 1:1 crop for delivery apps and your website. Leaving margin around a centered dish is what makes this possible from one master photo. Always preview the result at thumbnail size, because that is where loose framing and soft focus get exposed.
Honest enhancement for overhead shots
Overhead shots are unforgiving: a color cast spreads across the whole frame, and the even surface shows every bit of unevenness in the light. That is exactly the gap FoodPhoto.ai closes. It takes a real overhead photo of your real dish and corrects lighting, color, gloss, and background without changing the food, so a phone flat lay ends up looking studio-grade for a few cents. Keep it honest: enhance light and clarity, never invent ingredients or change portions.
Because flat lay leans heavily on color and arrangement, it pairs naturally with social. Our Instagram playbook for restaurants covers how to turn a batch of overhead shots into a week of posts that get saved, not just liked.
Arranging the dish before you shoot
Flat lay rewards arrangement more than any other angle, because the camera sees the entire surface at once. A few minutes of styling before you press the shutter does more than any amount of editing afterward:
- Group like with like. Cluster the proteins, the grains, and the vegetables into clear zones rather than mixing everything together. A grain bowl reads as abundant when its components are organized, and as messy when they are not.
- Build to the edges, not the center pile. Push ingredients gently outward so the bowl looks full rather than sunken. A dish that looks generous in the photo sets the right expectation.
- Place the hero on top. The most appetizing element (the seared protein, the runny egg, the char) should sit where the eye lands first.
- Wipe the rim. Drips and smears on the edge of a bowl are far more visible from directly above than from an angle.
- Add one accent, not five. A single fork, a folded napkin, or a small side of sauce supports the dish. More than that crowds the frame and competes for attention.
The discipline of arranging first is what separates a flat lay that looks intentional from one that looks like a snapshot of a half-eaten meal.
Common flat lay mistakes
- Lighting from directly overhead. This is the number-one flat lay killer. It flattens the dish into a lifeless top-down. Move the light to the side.
- Tilting the camera. If the lens is not parallel to the table, straight lines bow and the composition feels off. Use a clamp or overhead arm.
- Filling every corner. Negative space is your friend. It gives the dish room to breathe and leaves margin for crops and text overlays.
- Forgetting the thumbnail. A flat lay can look gorgeous full-size and unreadable when shrunk. Always preview small before publishing.
For the broader set of composition principles that apply across angles, our food photography style trends for 2026 cover thumbnail-first framing and the looks that read premium.
Dish-by-dish: what works overhead and what doesn’t
Flat lay is not a universal angle, and the fastest way to waste a shoot is to point the camera straight down at the wrong dish. Use this as a quick reference before you set up:
| Dish | Shoot overhead? | Why |
|---|---|---|
| Grain bowl / poke bowl | Yes | Components fan out across the surface |
| Salad | Yes | Color and variety live on top |
| Pizza (thin / Neapolitan) | Yes | The whole pie is the story |
| Charcuterie / grazing board | Yes | Abundance reads from above |
| Sheet-pan dinner | Yes | Organization is the appeal |
| Burger | No | Height and the stacked build vanish |
| Stacked pancakes / parfait | No | Layers disappear from above |
| Deep-dish / pan pizza | No | Crust depth is the selling point |
| Tall drink / latte | No | The glass and foam need a side view |
When in doubt, ask yourself: does the customer order this for what’s on top, or for how tall and layered it is? Top-of-dish appeal goes overhead; height goes to 45 degrees. Our menu photography operator guide maps the full angle decision across a menu.
A repeatable overhead station for a busy kitchen
The reason most restaurants shoot flat lay inconsistently is that they rebuild the setup every time. Lock it once and every overhead photo matches:
- Fixed surface. A neutral board, a sheet of marble-look contact paper, or a clean linen — kept in one spot near the window.
- Fixed light position. Mark where the dish and the light sit with tape so the side light hits the same way every session.
- Fixed height. A phone clamp on an overhead arm at a set height means every frame has the same scale and the same parallel-to-table alignment.
- A bounce card on the shadow side. A piece of white foam board across from the window lifts the shadows so the dish stays bright and readable.
With the station fixed, a line cook can plate, shoot, and move on in under a minute per dish — which is what makes a weekly batch realistic instead of a special project. For a tight-kitchen version of this, see our restaurant photo station setup.
A quick flat lay QA pass
Before you publish, confirm the dish reads clearly at thumbnail size, the color is accurate with no yellow cast, the arrangement looks intentional rather than messy, and the crop you exported matches the platform you are uploading to. If any of those fail, it is usually a 60-second fix: re-center, clean an edge, or move the light to the side.
Flat lay is one of the most reliable looks in a restaurant’s kit, and it costs you nothing but a clamp and a window. Shoot a batch of your best overhead candidates, enhance them honestly, and export clean crops for every channel. See pricing when you are ready to standardize the look across your menu.
Frequently asked questions
What is flat lay food photography?
Flat lay, or overhead, food photography shoots straight down with the camera parallel to the table. It works best for dishes whose appeal is on the surface: bowls, salads, pizzas, platters, and spreads. It shows organization and ingredient variety in a way a 45-degree angle cannot.
Which dishes should be shot overhead instead of at an angle?
Shoot overhead when the top of the dish tells the story: grain bowls, salads, pizzas, sheet pans, charcuterie, and family platters. Use a 45-degree angle for dishes with height and layers, like burgers, stacked pancakes, or deep-dish pizza, where flat lay would hide the build.
How do I light a flat lay so it does not look flat?
Light from the side, not from directly above. Side light creates the micro-shadows that reveal texture and depth, while overhead light flattens everything. A bounce card on the opposite side lifts the shadows so the dish stays bright and readable.
How do I keep flat lay photos usable on social and delivery apps?
Center the dish, keep the corners clean, and leave a little breathing room so you can export a square crop for social and a 4:3 or 1:1 crop for delivery apps without slicing ingredients. Always check the result at thumbnail size before publishing.