Catering & Family Meal Photos (2026): Sell Trays, Bundles, and High-Ticket Orders With Clarity
Catering and family meals are a different product, and they need different photos. When someone orders a single dish they ask "does it look good?" When they order a $180 catering tray they ask "what exactly do I get, how much is it, and will it arrive well?" That’s why strong catering food photos aren’t about mood — they’re about clarity and proof. This 2026 guide shows the exact photo set that removes doubt and closes high-ticket orders, plus how to shoot trays without chaos and publish everywhere.
Why catering photos follow different rules
Bundles, party packs, office lunches, and game-day spreads are growing because they’re high-margin and easy to scale. But they only convert when the customer can picture the order. If they can’t picture it, they hesitate — and hesitation on a $150–$300 order means a lost sale.
So the job of catering photography is simple: remove every reason to doubt. Mood lighting and artsy crops don’t do that. Quantity, layout, and arrival proof do.
The catering photo set that sells
A single hero photo of a tray is not enough. It looks nice but answers none of the buyer’s real questions. Use this five-image set instead.
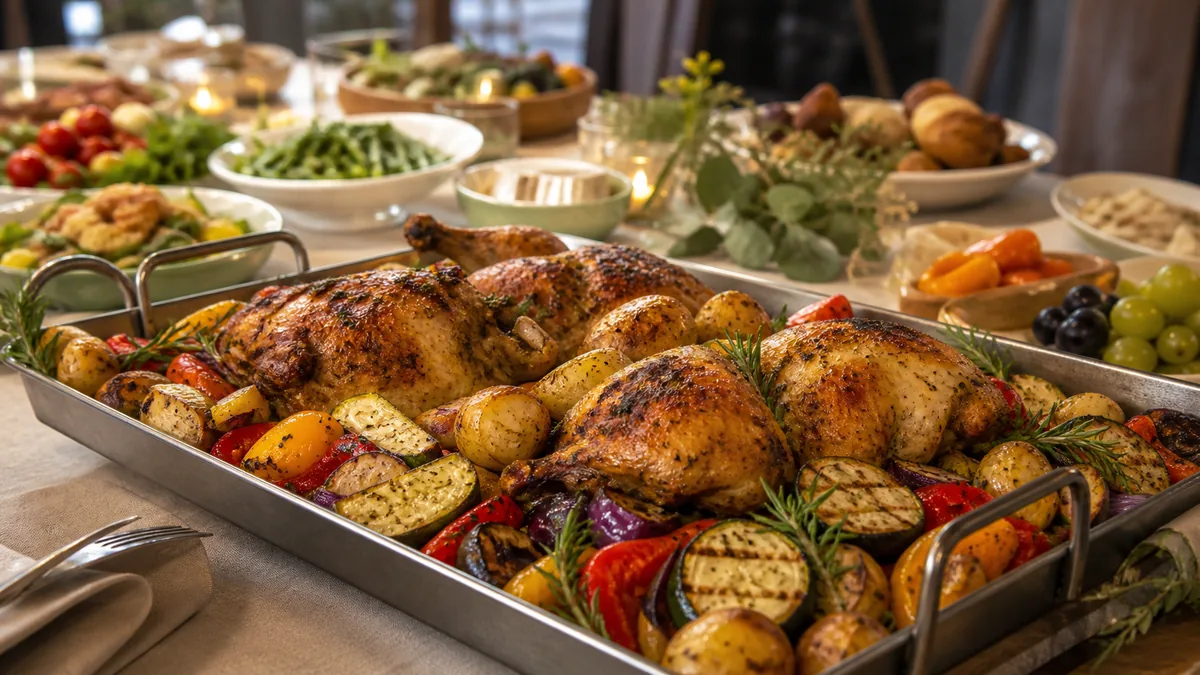
1. The hero tray
The main selling image. Make it look abundant and organized, not chaotic.
- Fill the frame with the tray.
- Use a clean, neutral background.
- Arrange components neatly; hide messy foil edges.
- Shoot top-down for a flat, layout-heavy tray or at 45° for depth.
2. The "what’s included" layout
If the bundle has multiple parts, show them all together — main tray, sides, sauces, and utensils if included. The point is comprehension: the customer should understand exactly what they’re buying at a glance.
3. The portion / scale proof shot
This is the most underused image and the one that justifies the price. Show real scale honestly:
- The tray next to a stack of serving containers.
- One plated serving beside the full tray.
- The container open with contents visible.
Never gimmick the size. Honest scale builds trust and reduces "this wasn’t enough food" complaints.
4. The packaging and arrival proof shot
Catering buyers worry about transport. Reassure them:
- Neat, labeled packaging.
- Sealed lids if relevant.
- One "in the container" shot that still looks appetizing.
5. The texture close-up
High-ticket orders still need appetite triggers. One close-up of crispy edges, glossy sauce, or a grilled surface makes the whole bundle feel premium.
That five-image set — hero, layout, scale, packaging, texture — is what converts catering browsers into buyers.
How to shoot trays without making them look messy
Trays look chaotic for four predictable reasons. Fix each one:
- No structure — arrange items in a pattern; symmetry reads as care.
- Too many props — let the food be the subject; one prop max.
- Busy background — use one clean surface, not a random cluttered table.
- Camera too far away — crop so the tray is the hero, not a small object in a big scene.
A 10-second cleanup of foil edges and stray crumbs before each frame does more for perceived quality than any expensive gear.
Keep it honest
Catering disputes almost always come from a gap between the photo and the delivery. Two rules keep you safe:
- Don’t add items that aren’t included. If the photo shows garlic bread, the order ships garlic bread.
- Don’t exaggerate portions. The tray in the photo is the tray that arrives.
This is also why an honest enhancement approach matters. FoodPhoto.ai takes a real phone photo of your real tray and fixes lighting, color, gloss, and crop without changing the food or inventing items. It’s not text-to-image fabrication — so the spread in the listing is the spread that shows up at the office party. You can test it on your own tray with the paid Menu Test Pack.
A fast phone workflow for catering shoots
You don’t need a studio day to build the full set. Batch it:
- Plate or assemble the tray as a customer receives it.
- Shoot near soft, indirect light on one clean surface.
- Capture the five frames: hero, layout, scale, packaging, texture.
- Cull to the best of each, then enhance them together so the set looks consistent.
- Export the crops each channel needs.
Thirty minutes per bundle gets you a complete, reusable asset set.
Publish everywhere — with the right crop
One shoot should feed every channel, but each crops differently:
- Your website / catering page: wide hero plus the layout and scale shots.
- Delivery apps: square tiles, dish centered with margin — see delivery app photo guidelines and image sizes for exact dimensions.
- Google Business Profile: landscape hero of the spread.
- Social and ads: vertical, close, and bold.
Shoot a little wider than you need so you can crop per platform without losing the tray.
Common catering photo mistakes
Even operators who shoot the full set lose orders to a few avoidable errors:
- Shooting the tray too far away. A small tray in a big frame reads as "not much food." Crop in so the tray fills the frame.
- Skipping the scale shot. Without it, buyers can’t judge whether the order feeds their group, so they hesitate or call a competitor with clearer photos.
- Hiding the packaging. Catering buyers are nervous about transport; an arrival shot quietly closes that objection.
- Messy foil and stray crumbs. A 10-second cleanup before each frame raises perceived quality more than any gear.
- Inconsistent looks across bundles. If each tray photo has a different light and angle, your catering page feels stitched together. Match them like you would a restaurant photo style guide.
Fix these five and your catering photos start doing the selling for you.
Pricing and value go together
If catering is a real revenue line, treat the photos as part of the offer, not an afterthought. The scale shot and packaging proof are what let you charge premium prices with confidence — they pre-answer the objections that kill big orders. For the channel-by-channel optimization side, our delivery app photo guidelines and Uber Eats photo requirements guides cover how the tiles actually render.
Catering buyers spend more and hesitate more. Give them the proof set, keep it honest, and you’ll close orders that a single pretty tray photo never could. Try it on one of your own trays with the Menu Test Pack — and when you’re ready to build the full set, pricing starts at $10 for a 5-photo Menu Test Pack with plans from $15/month.
Enhance your real food photos in FoodPhoto.ai
FAQ
How do I photograph a catering tray so it doesn’t look messy?
Arrange components in clean lines or symmetry, separate sauces and sides so they don’t blend, shoot on one neutral surface, and crop so the tray fills the frame. Top-down works for layout; a 45-degree angle adds depth. Tidy foil edges before you shoot.
What photos do I need to sell catering and family meals?
A five-image set: a hero tray, a ‘what’s included’ layout, a portion or scale shot, a packaging/arrival proof shot, and a texture close-up. Together they answer the buyer’s real questions about quantity, value, and how the order arrives.
How do I show portion size honestly in catering photos?
Show real scale: the tray next to a stack of serving containers, one plated serving beside the full tray, or the container open with contents visible. Never add items that aren’t included or stage portions larger than what ships.
Can I take catering photos with a phone?
Yes. A phone near soft light, a clean surface, and a quick enhancement step that fixes lighting and color without changing the food produces tray and bundle photos good enough for your website, delivery apps, and ads.