Restaurant Menu Photo SOP: The 90-Minute Shoot → Enhance → Publish Workflow
If you run a restaurant, you do not need creative inspiration — you need a repeatable system that produces menu-ready photos on demand without turning your kitchen into a studio. This restaurant menu photo SOP is built for real constraints: you are busy, staff rotate, the menu changes, and delivery apps crop your images. Run it as a checklist every month, or every week for specials, and your photos stay clear, accurate, and consistent.
The payoff: a 90-minute pass that turns a stack of dishes into platform-ready images for your menu, delivery apps, Google, and social — all looking like one brand.
What "good" looks like for a restaurant menu photo
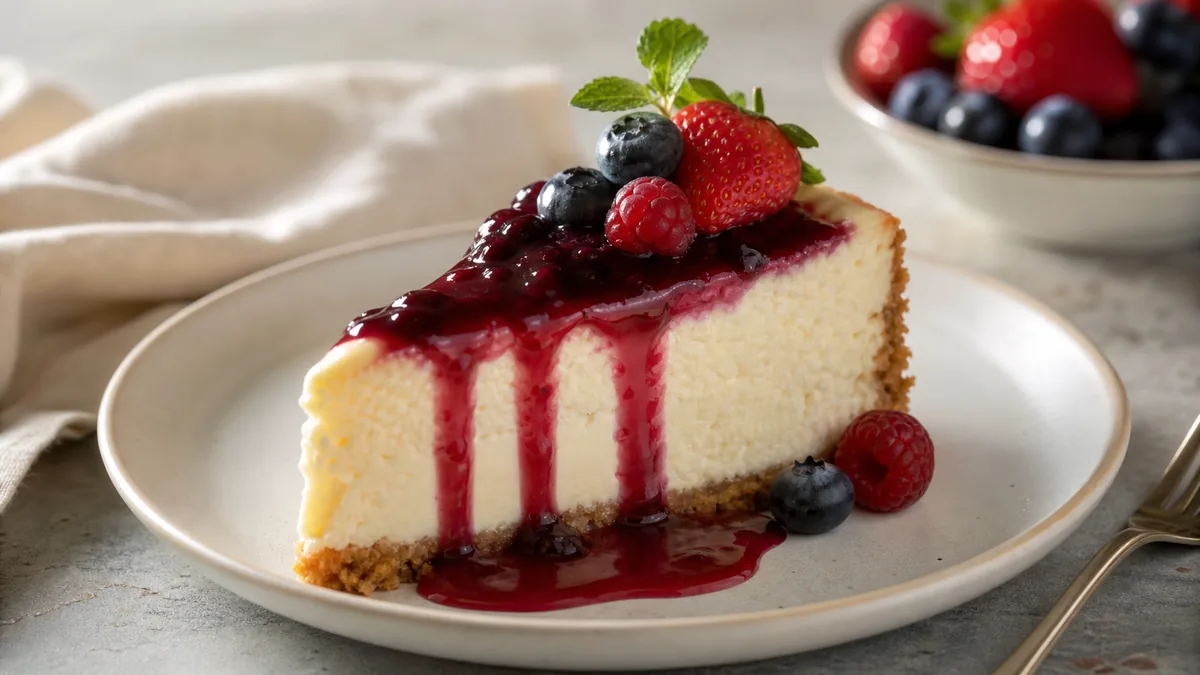
A menu photo has one job: make choosing easy. Good menu photos are:
- Clear — you instantly know what it is, even as a thumbnail.
- Accurate — the delivered dish matches the photo.
- Consistent — the whole menu looks like one restaurant.
- Crop-safe — important details survive each platform’s crop.
Optimize for those four and conversion follows. The psychology behind why clarity and accuracy drive orders is covered in why food photos make people order.
The 90-minute SOP (print this)
0) Prep — 5 minutes
- Pick the items you are shooting today (10–20 is a realistic batch).
- Assign two roles: a shooter (frames and checks shots) and a runner/plater (plates dishes, wipes edges, refreshes garnish).
- Clear the station — no towels, receipts, extra plates, hands, or stray utensils.
1) Set up the photo station — 10 minutes
You need three things: a window for soft light, a neutral surface for the background, and a white foam board as a reflector.
- Put the table 2–3 feet from the window.
- Aim window light from the side, not behind the dish.
- Hold the foam board opposite the window to soften shadows.
- Turn off mixed overhead lights if they add a yellow or green cast.
Background rule: pick ONE background for the whole batch. If your current menu is inconsistent, that single change is your biggest upgrade. For the fundamentals behind the light direction, see our food photo lighting fundamentals.
2) Shoot a test plate — 5 minutes
Before you cook through the list, shoot one dish and confirm it reads as a small thumbnail, the food is centered with breathing room, and the color looks like real food — not yellow, not blue. Fix the light now, not later.
3) Run the shot list — 45–55 minutes
For each item, take 8–12 frames and choose one winner.
- 45° angle: your menu default; works for most items.
- Overhead: bowls, salads, pizzas, platters.
- Close texture: crisp edges, sauce, steam, layers.
Framing rules: keep the plate fully inside the frame, keep the hero ingredient centered, and leave space around the dish so delivery-app crops do not cut it off. Plating rules: wipe plate edges every time, garnish last so it looks fresh, keep portions accurate, and shoot fast so nothing melts or deflates.
4) Pick the winners — 10 minutes
Do not over-edit bad photos — pick better frames. A winner has sharp focus on the hero, a clean background, no blown highlights, and looks appetizing and accurate.
5) Enhance and export — 10–15 minutes
This is where you save time: fix lighting and color, clean backgrounds, and export platform crops so you are not manually cropping for every channel. An honest enhancement tool corrects lighting and clutter on your real dish without inventing food — you can run one image through the FoodPhoto.ai to see the before/after before committing a batch.
6) Publish — 10 minutes
Publish in impact order: top sellers, then high-margin items, then new items and specials, then everything else. Your top sellers get the most eyeballs, so improving them first makes the biggest difference.
The quality-control checklist
Run this before anything goes live. If any line fails, reshoot or pick a different frame:
- The dish is obvious at thumbnail size.
- Food color looks accurate (no yellow cast).
- Background is clean and consistent with the batch.
- No hands, text, logos, or watermarks.
- Plate edges are clean.
- Hero ingredient is centered with breathing room.
For the platform-specific sizes and aspect ratios you will export to, use our complete guide to delivery app AI photo requirements, and for the thumbnail-first crop strategy see delivery app photo optimization.
File naming and storage
Pick one shared folder for the restaurant and one naming scheme so the team can find things later:
- Pattern:
YYYY-MM-DD_item-name_platform - Examples:
2026-06-15_chicken-alfredo_doordash,2026-06-15_chicken-alfredo_ubereats,2026-06-15_chicken-alfredo_website
You do not need perfect organization. You need predictable organization, so anyone on the team can see at a glance what is outdated.
Common mistakes that break the SOP
Even a good process slips when these creep in. Watch for them:
- Rebuilding the station every time. If you tear it down after each shoot, you will avoid shooting. Keep it standing in a corner so updates take minutes, not an afternoon.
- Switching backgrounds mid-batch. One change of surface and the menu stops looking unified. Lock one background per batch.
- Editing instead of reshooting. No enhancement saves a blurry, badly framed frame. Shoot 8–12 and pick a sharp one.
- Chasing drama over accuracy. Over-saturated, over-sharpened photos read as fake and produce refund-driving mismatches. Aim for appetizing and true.
- Shooting everything at once and burning out. Do top sellers first; you do not need the whole menu in one session.
The minimal gear list (and what to skip)
You can run this entire SOP without buying a single piece of pro equipment. Keep the kit small enough to live in one bin by the station:
- A phone with a clean lens. Wipe it before every batch — kitchen grease softens focus more than any setting.
- One sheet of white foam board as a reflector. A roughly 20×30 inch board is plenty and costs a few dollars.
- One neutral background surface. A matte board, a slab of stone, or a sheet of laminate. Pick a color that flatters most of your menu and never change it mid-batch.
- A small phone tripod or even a stack of books to hold the overhead angle steady so frames stay sharp and consistent.
What to skip: ring lights (they flatten food and add a fake glare ring), colored backdrops (they fight the food’s own color), and expensive props. The single biggest quality jump comes from consistent window light, not gear. If you’re still building confidence with the phone itself, our phone food photography guide covers the basics this SOP assumes.
Troubleshooting the three problems that show up every batch
Even with a tight SOP, the same issues recur. Here is the fast diagnosis:
- Everything looks slightly yellow or orange. A mixed overhead light is leaking into your window light. Turn off the overheads, or move the station so only the window reaches the dish, then re-shoot the test plate.
- The food looks flat and lifeless. Your light is coming from behind the camera (front light), which erases texture. Move the dish so the window is to the side, and let the foam board fill the far shadow.
- Steam, gloss, or garnish dies before you shoot. You’re plating too early. Plate the dish last, garnish last, and shoot within a minute. Have the runner stage everything so the shooter only waits seconds.
Fixing the light is always cheaper than fixing the photo. Re-running the 5-minute test plate after any change saves you from shooting 20 items with the same flaw baked in.
Roles and handoff (so it survives staff turnover)
The SOP works because it does not depend on one talented person. Two simple roles — a shooter and a plater/runner — and a one-page printed checklist mean a new team member can run it in week one. Keep the checklist, the naming scheme, and the shared folder documented where the team can find them. When the process lives on paper instead of in someone’s head, photo quality stops sliding every time roles change. This is the same durability principle behind a consistent delivery app photo optimization routine: systems beat heroics.
The monthly cadence
- Weekly: specials and limited-time items.
- Monthly: refresh your top 10 sellers.
- Quarterly: a full-menu batch pass.
If you only do one thing, keep the station standing so you can shoot any day in minutes. The SOP works because it removes decisions — the same setup, the same shot list, the same export crops, every time.
Run this once and your menu stops looking like a collection of random days and starts looking like a brand. When you are ready to enhance a batch, start with a Menu Test Pack and check pricing to keep the whole menu current — a $10 Menu Test Pack (10 credits) covers a test batch, plans start at $15/mo for 50 credits, and credits roll over so a quiet month banks capacity for your next full-menu pass.
Frequently asked questions
How long does it take to shoot a batch of menu photos?
With a standing photo station and a clear shot list, a batch of 10 to 20 items takes about 90 minutes end to end: 5 minutes prep, 10 to set up, a 5-minute test plate, 45 to 55 minutes shooting, 10 to pick winners, 10 to 15 to enhance and export, and 10 to publish. The key is keeping the station set up so you are not rebuilding it every time.
What shot list should I use for menu photos?
Default to three shots per item: a 45-degree angle as your menu default, an overhead for bowls, salads, pizzas, and platters, and a close texture shot for crisp edges, sauce, or layers. Take 8 to 12 frames per item and choose one winner.
Should I edit a bad menu photo or pick a different frame?
Pick a different frame. Editing cannot rescue soft focus, blown highlights, or a chaotic background. Shoot 8 to 12 frames so you have a sharp, clean one to choose, then enhance that winner for lighting, color, and consistent crops.
How often should I refresh menu photos?
Run a weekly pass on specials and limited-time items, a monthly refresh of your top 10 sellers, and a quarterly full-menu batch shoot. The single highest-leverage habit is keeping a small station set up so you can shoot any day in minutes.