DoorDash Menu Photos That Convert: A No-Photoshoot Playbook
DoorDash is a thumbnail-first marketplace. Customers scroll a feed and decide in seconds, which means your DoorDash menu photos have exactly one job: win the thumbnail. Big, bright, simple. This playbook shows you what to shoot, how to crop so nothing gets chopped, and the fastest way to refresh your menu and lift orders — without booking a photoshoot.
The good news: you don’t need a studio or a photographer for the bulk of this. You need consistent light, a clean background, accurate color, and a repeatable workflow.
What matters on DoorDash (and what doesn’t)
DoorDash users decide fast, so the levers that move orders are the ones that read at small sizes:
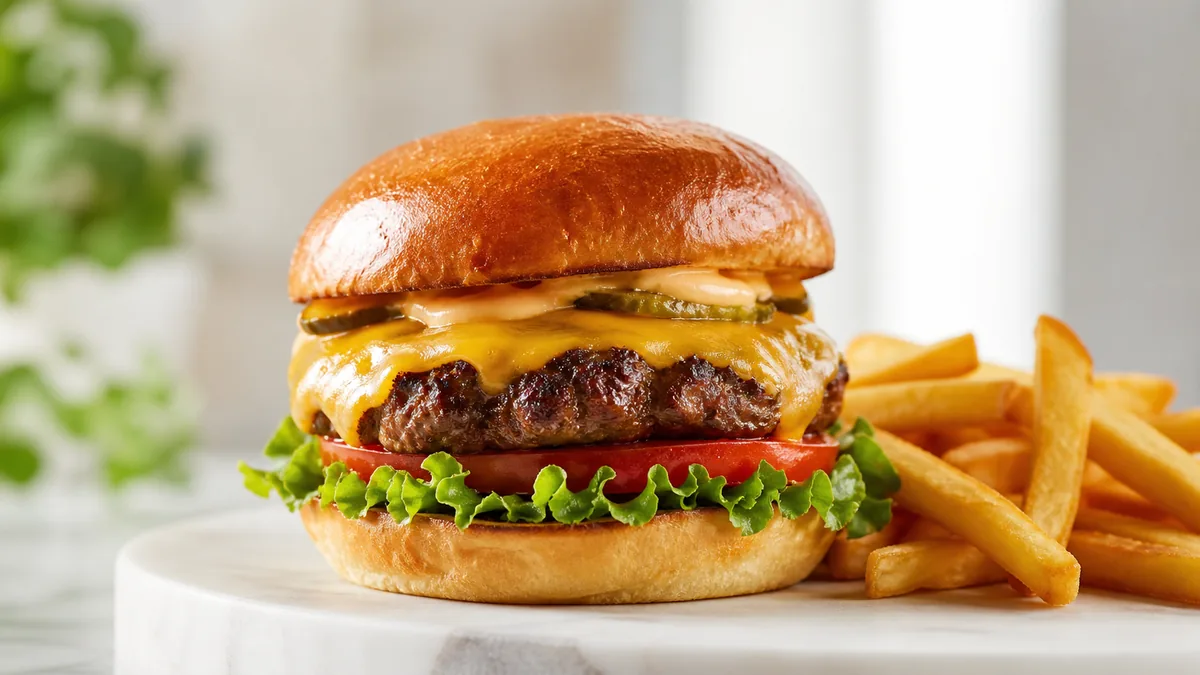
- A clear hero ingredient. The “main thing” should be obvious instantly — the patty, the cheese pull, the loaded toppings.
- A clean background. Clutter destroys thumbnails. Negative space makes the food pop.
- Accurate color. No yellow kitchen-light cast. Food that looks the right color reads as fresh and trustworthy.
What matters less than people think:
- Fancy props and styling.
- Extreme or artsy angles.
- Heavy editing that makes the food look unreal — over-editing actually costs you trust, which costs you orders.
The quickest photo setup
You can reuse one simple setup for the whole menu:
- Window light from the side, not from behind or directly overhead.
- A white foam board on the opposite side to bounce light back and soften shadows.
- One neutral background so every dish looks like it belongs to the same brand.
That’s it. The same three-element setup carries most of a menu, and it’s the foundation of any repeatable system — the kind you can run in a weekly photo sprint instead of one stressful marathon.
The 30-minute photo audit before you change anything
Before you reshoot a single dish, open your own DoorDash listing on a phone — not a laptop — and scroll it the way a hungry customer would. You will spot the real problems faster than any checklist. Look for three things on every item:
| What you see | What it costs you | Quick fix |
|---|---|---|
| No photo at all | Item is invisible in a photo-led feed | Shoot it this week, even roughly |
| Dark, yellow, or blurry photo | Reads as low quality and stale | Reshoot in side light, fix color |
| Tight crop cutting off the food | Hero ingredient is half gone | Recrop with breathing room |
Rank every item into “missing a photo,” “bad photo,” and “fine for now.” That ranked list becomes your reshoot order. Missing photos and obviously bad photos on your top sellers are where the fastest order lifts hide — you are not improving good listings, you are turning invisible items into visible ones.
Shoot for the crop so nothing gets cut off
DoorDash crops your images. If you frame too tight, the best part of the dish disappears behind the platform’s crop. Protect against it:
- Keep the plate fully inside the frame — don’t let edges run off.
- Leave breathing room on all sides so the crop has slack.
- Center the hero ingredient so it survives a square or 4:3 crop.
When in doubt, preview the photo at thumbnail size on your phone before uploading. If the main item reads instantly when it’s small, it will convert in the feed. If you have to squint to tell what it is, reshoot or recrop.
A menu refresh plan that actually works
You don’t refresh everything at once. You refresh by impact:
- Start with your top sellers and highest-margin items. These photos get seen and ordered the most, so they pay back first.
- Shoot 10–15 items in one focused session. Batching is faster and keeps your look consistent.
- Upload, then watch the data. DoorDash Merchant analytics will show you which items gain clicks — you’ll often spot obvious winners within a week.
- Repeat weekly until the full menu is updated, then keep a light cadence so listings never go stale.
The enhancement step (where the no-photoshoot part pays off)
Clean phone originals are the input. The output — bright, color-accurate, clean-background, menu-ready images — is where most operators used to spend on a photographer. This is exactly what FoodPhoto.ai handles: upload a real photo of your real dish, and it fixes lighting, background, color, and gloss without changing the food. That honesty matters on DoorDash, where the photo has to match what arrives at the customer’s door — misleading photos buy short-term clicks and pay them back in refunds and one-star reviews.
Try it on your worst-looking top seller in the Menu Test Pack and compare the thumbnail side by side with your current listing. For the platform crop logic behind why thumbnails win or lose, our DoorDash and Uber Eats photo requirements guide covers the exact sizes and safe zones.
DoorDash-specific photo tips most operators miss
DoorDash is not a generic gallery — it has its own quirks that reward operators who shoot for them:
- The category hero matters as much as item photos. DoorDash often surfaces one image to represent your whole store in search and category browsing. Make sure that lead image is your single most crave-worthy item, not whatever happened to upload first.
- 16:9 plus a safe center is the default. DoorDash item photos should be exported as 16:9 landscape, but app previews can crop tightly. Compose every menu shot so the dish stays centered and survives thumbnail previews without uploading a square file as the main spec.
- Consistency reads as a “real” restaurant. A menu where every photo shares the same light direction and background signals a legitimate, cared-for kitchen. A menu of mismatched, random-day photos signals the opposite — and customers feel it even if they can’t name it.
- One bad photo drags the listing. A single dark, off-color item next to clean ones makes the whole store feel cheaper. Fix the worst offenders before you polish the good ones.
If you also list on Uber Eats, don’t shoot twice — shoot once with extra breathing room and export both crops from the same originals. Our delivery app photo optimization guide covers the multi-crop, no-rework export flow.
Common mistakes that quietly cost you orders
- Over-editing the food. Cranked saturation and fake gloss make a burger look like plastic. The customer’s brain flags “too good to be true” and scrolls on — or worse, orders and feels misled.
- Inconsistent portions. If the photo shows a heaping plate and the box arrives half full, you’ve bought a refund and a one-star review. Shoot the portion you actually serve.
- Forgetting modifiers and combos. High-margin add-ons and combos often have no photo at all. A clean shot of a loaded combo can lift average order value more than fixing an entrée nobody upsells.
- Shooting once and never again. Menus change, sauces change, plating drifts. A photo that was accurate in spring can be misleading by fall. Build a light refresh habit instead of a one-time project.
Simple ROI math (no hype, just numbers you control)
You don’t need a complicated model. The mechanism is straightforward: more people click when your photo is clearer, and more people order when the dish looks trustworthy. A few extra orders per day on your top items, multiplied across a month, is usually far more than the cost of refreshing the photos. Track your before-and-after click and order rates on the items you reshoot and let your own numbers make the case.
Quick wins to ship this week
- Replace the three darkest, blurriest photos on your highest-selling items.
- Recrop any listing where the hero ingredient sits near an edge.
- Standardize on one background and one light direction so your menu looks like one brand.
- Re-upload accurate-color versions of anything currently tinted yellow or green.
Better DoorDash photos aren’t a one-time project — they’re a small, repeatable habit. When your menu always looks current and trustworthy, you win more of the scroll. A $10 Menu Test Pack (10 credits) is enough to fix the worst-looking top sellers and see the thumbnail difference for yourself; if it works, plans start at $15/mo for 50 credits and credits roll over, so a slow week’s allowance is never wasted. See pricing to refresh your whole menu without a photographer, and start with the dish that’s costing you the most orders right now.
Need consistent menu photos without a full reshoot? Start with real dish photos and improve lighting, background, and platform-ready crops in the FoodPhoto.ai studio.
FAQ
What makes a DoorDash menu photo convert?
A converting DoorDash photo wins the thumbnail: a big, obvious hero ingredient, a clean background, and accurate color with no yellow kitchen cast. Because the photo is shown small, clarity beats props and clever angles every time.
How should I crop photos for DoorDash?
DoorDash crops your images, so frame with safe space on all sides and keep the plate fully inside the frame with the hero ingredient centered. Preview each photo at thumbnail size before uploading — if the main item reads instantly at small size, it will convert.
Do I need a professional photographer for DoorDash photos?
No. Clean phone photos in consistent side light, enhanced for color and clarity, perform well on DoorDash. Reserve a paid shoot for one or two signature hero shots and handle routine menu and special updates in-house.
Which DoorDash items should I photograph first?
Start with your top sellers and highest-margin items, since those photos get seen and ordered most. Shoot 10–15 items in one session, upload, watch which listings gain clicks, then repeat weekly until the full menu is refreshed.